
Creating Native Ads
Learn how to create a native ad and what fields need to be filled out.
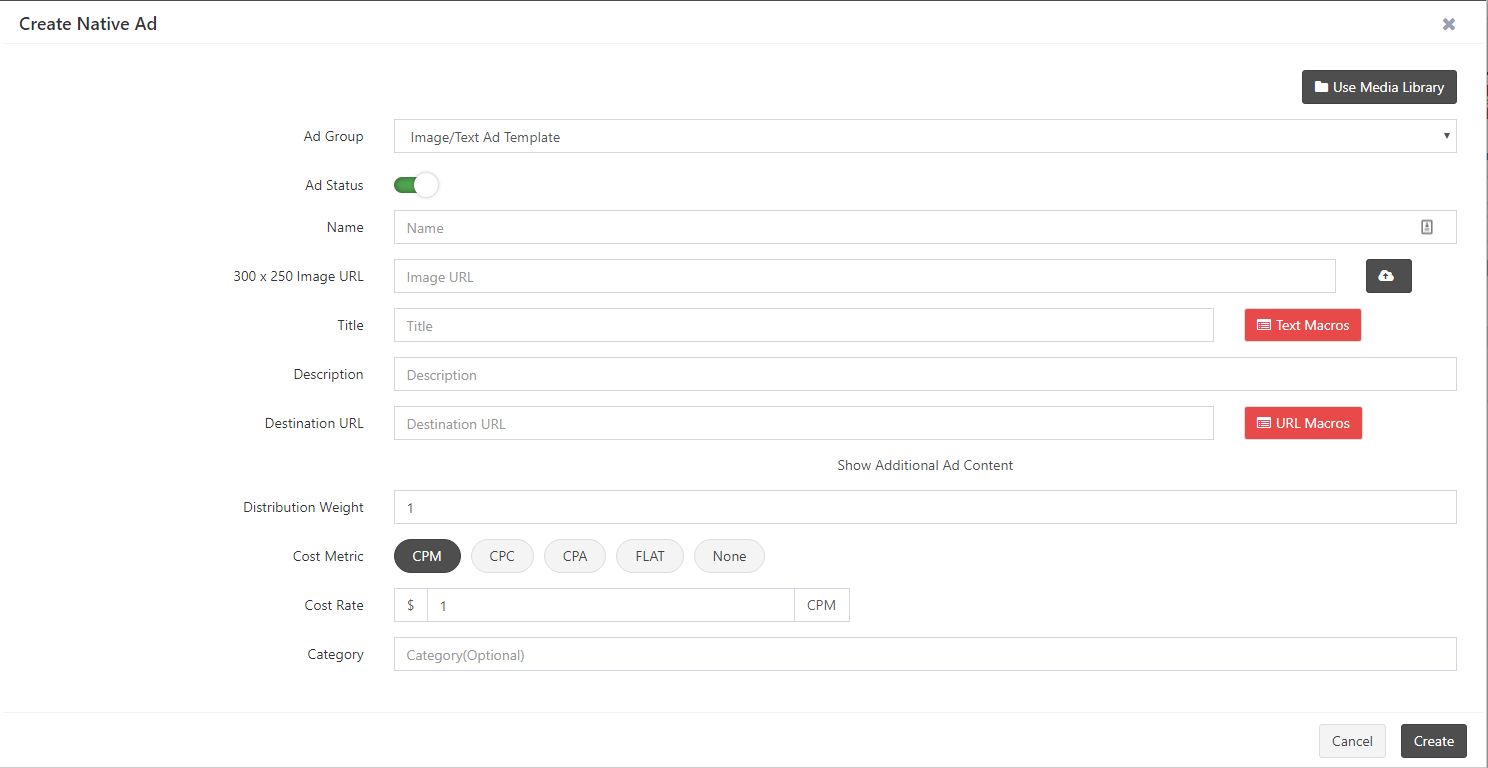
If you want to create a Native Ad, choose this option from the drop down list. A form will appear where you will be asked to add the following information:
- Ad Group
- Status (Online or Offline)
- Name
- Image URL (or upload an image by choosing the “Upload Image” button)
- Title
- Description
- Destination URL
- Distribution Weight
- Cost Metric
- Cost Rate
- Category
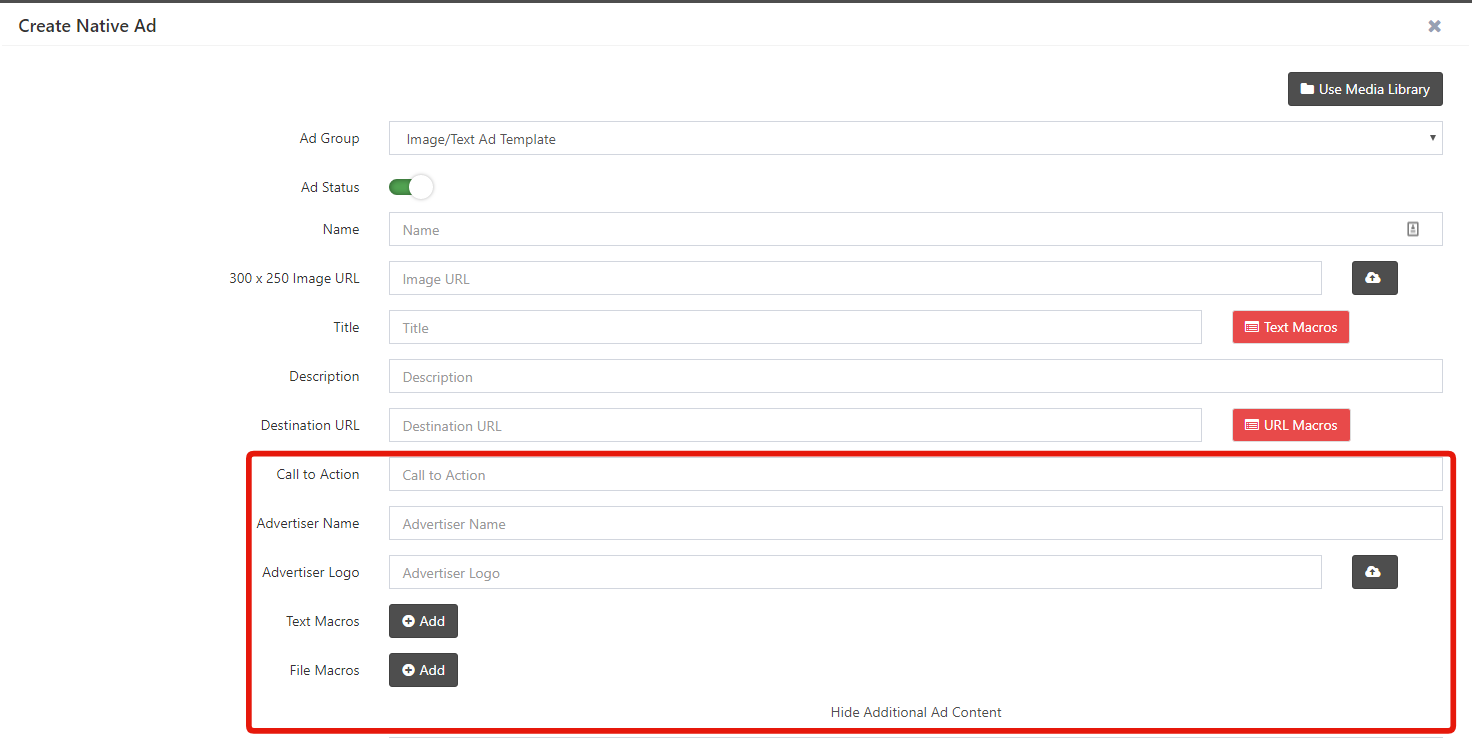
There are also additional fields that will appear when you click on the "Show Additional Ad Content" link. You can create Text ad styles that also include...
- Call to Action
- Advertiser Name
- Advertiser Logo
- Text Macros
- File Macros
Click the “Preview” button if your image is not being displayed at the top of the form. Next, enter the title of the ad, the description or content of the ad, and the auxiliary macro (which is optional). An auxiliary macro allows you to add extra text or an image to your text ad, should you need an additional entry field.
Enter the destination URL. Next to the destination URL, there will be a drop-down list with all actions. By choosing an action, you are connecting the ad with that action. Enter the distribution weight and then select the Cost Metric and Cost Rate you would like to be charged by for this ad.
NOTE: This should be the same as the metric and rate you entered for the entire placement.
Click on the “Create” button so the ad is successfully added into the system and appears in the ads list.
You can also copy ad groups or ads from the Media Library by clicking the “Use Media Library” or “Add Multiple Ads from Media Library” options.