
Ad Scheduling
Learn how to create a user that will have access to ad scheduling and then how to set it up in the platform.
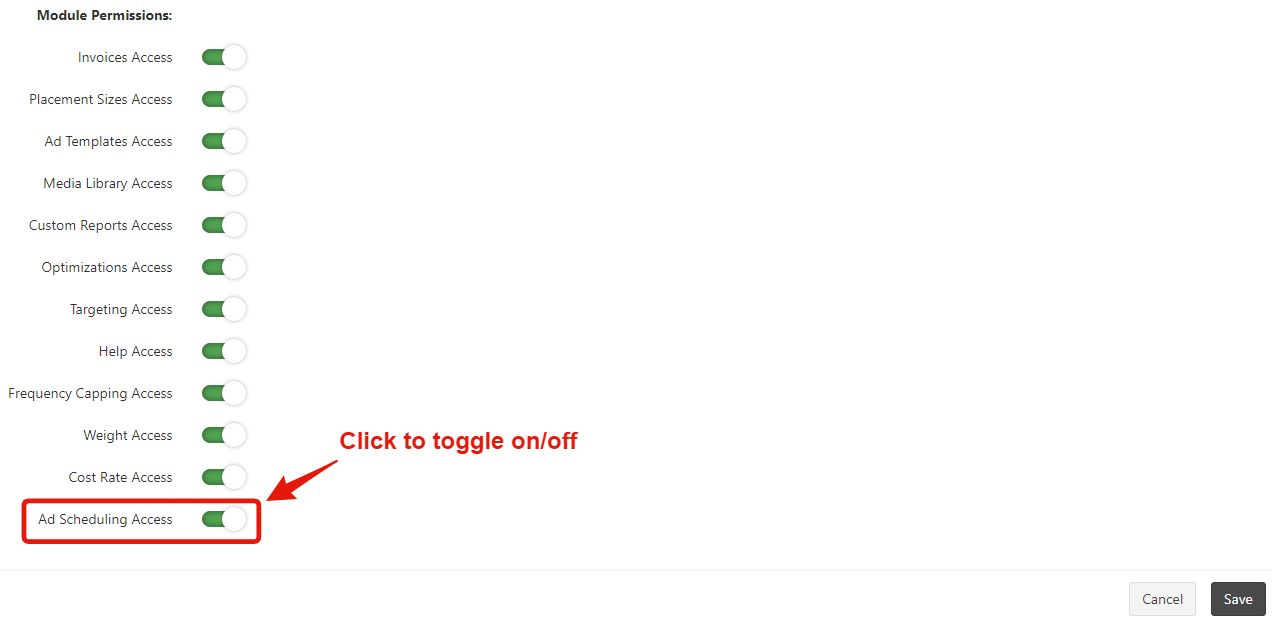
In order to set up ad scheduling you will first need to go into the "User" section on the left sidebar. If you already have a user, you can click on the edit icon. At the bottom of the popup you will see a module permission line to either turn "Schedules Access" on or off. Any user you want to have access to the ad scheduling feature will need to have that module turned on. After turning on or off, make sure you click on the "Save" button on the bottom right.
Once you have given access to the correct "Users", you will now go into each placement to set your ad scheduling. Navigate to the Placement Details page (Home Page navigation - Publisher --> Placement --> Placement Details).
Ad scheduling can be set at the Ad Group and the Ad level. To get to the Scheduling tab click on the edit icon on the Ad Group or Ad section that you want, and then click on the "Ad Group Scheduling" or "Ad Scheduling" tab.
There are a couple of sections that you will need to fill out before you save your ad scheduling.
- Start Date - Set to start immediately or select a date. If you are setting the ad group or ad to start at a future date, choose select a date and then set the date and time for the ad group or ad to start.
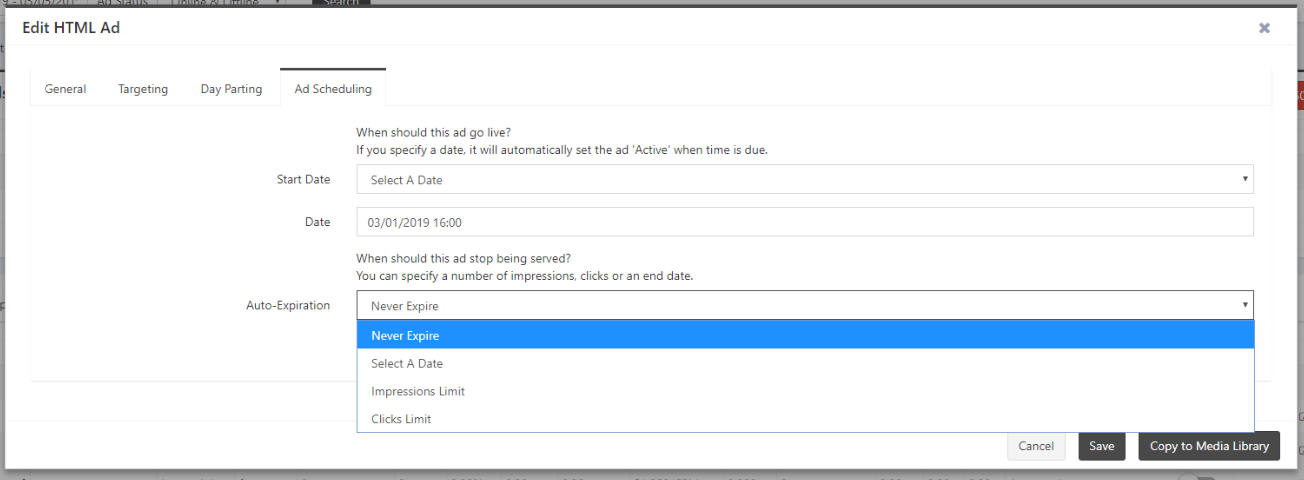
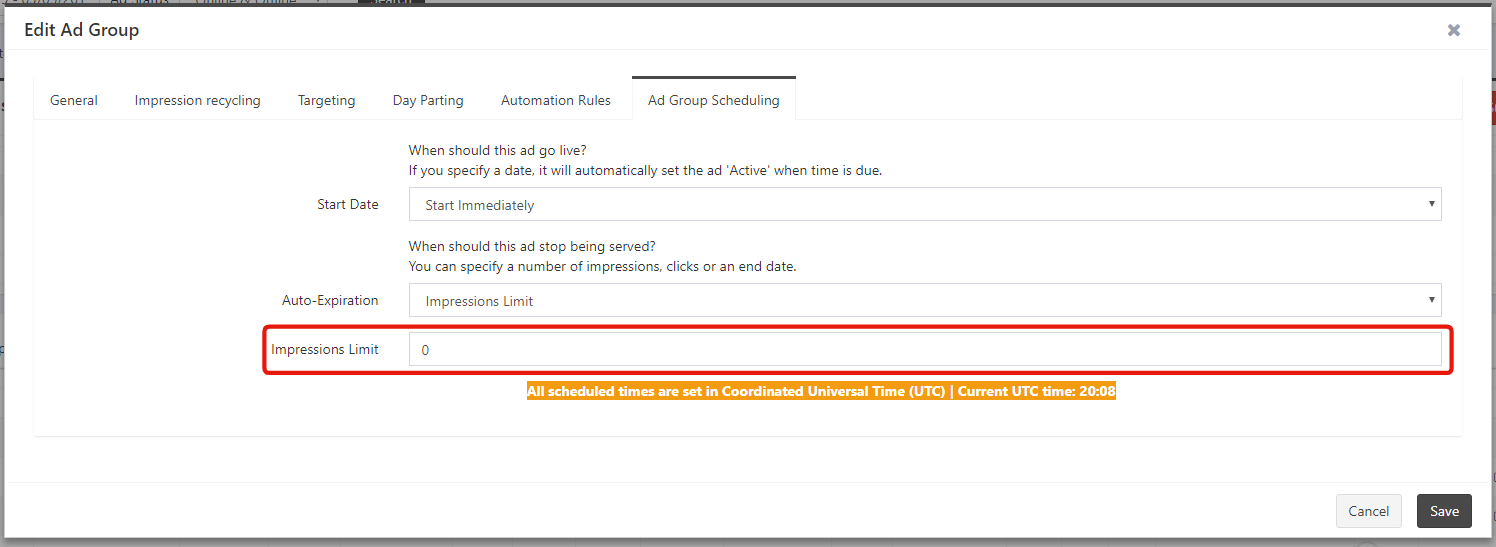
2. Auto-Expiration - Set the ad group or ad to expire by one of the following selections: Never Expire, Select a Date, Impressions Limit, and Clicks Limit. If you select impression or click limit, you will also need to set the limit on a new line that will appear below. (All times are set to UTC time zone.)
NOTE: It is important to make sure that you always have an active ad going for each placement. By using the ad scheduling feature, it is possible for the system to shut off all ad groups or ads based on the scheduling you have set.
You can also watch our tutorial video below...